
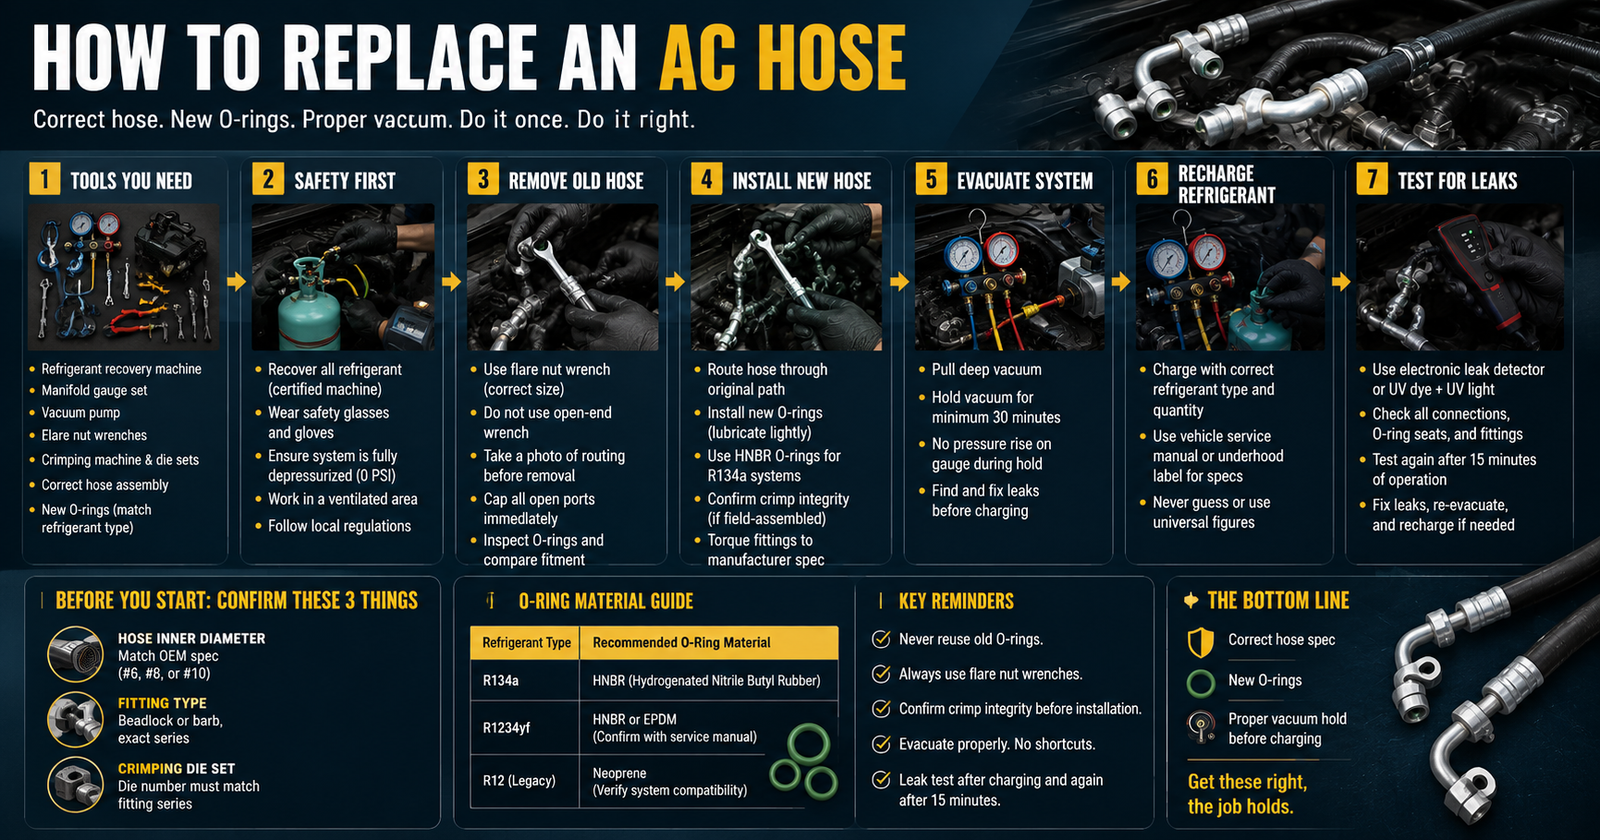
Replacing an AC hose looks straightforward. But workshops send cars back with leaks every week — not because the steps are hard, but because three things went wrong before the job even started.
Replacing an AC hose requires matching the hose to OEM specs, preparing the system correctly, and using the right crimping tooling. The steps themselves are not complicated. The failures come from wrong hose selection, skipped evacuation, and reused O-rings — all preventable with the right prep.
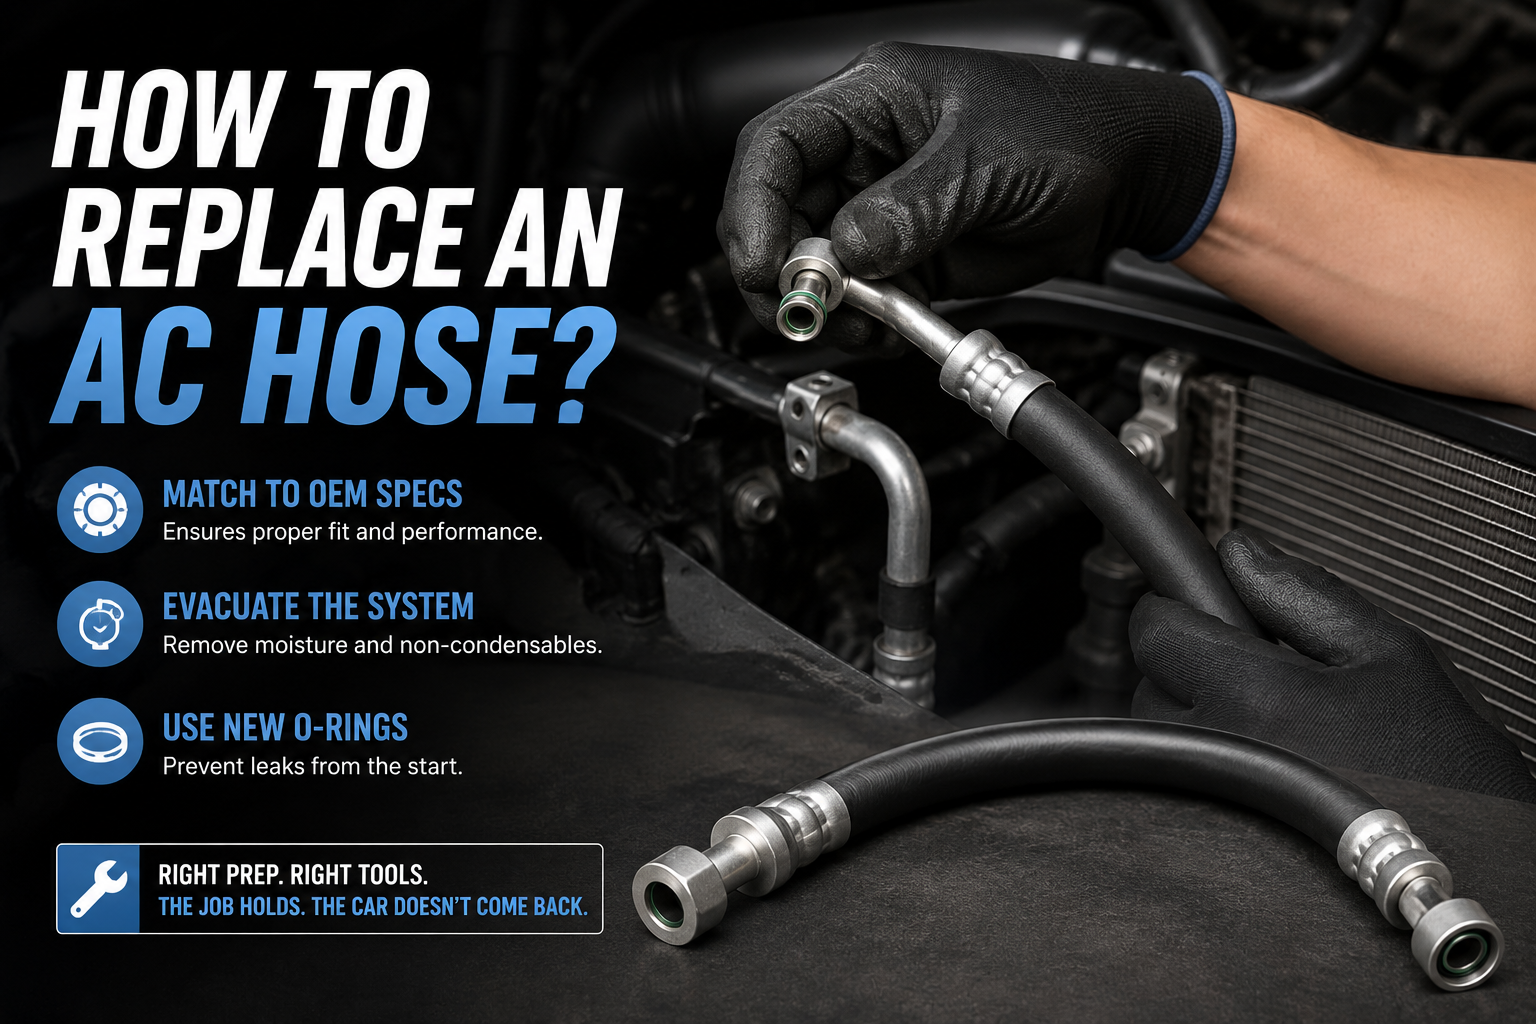
This guide is written for shop technicians and shop owners. It assumes you have a manifold gauge set, a vacuum pump, and a refrigerant recovery machine on hand. The goal is not to walk you through every hand movement — it's to make sure the job holds the first time and the car doesn't come back two weeks later with the same leak.
What Tools Do You Need?
Walking into a job without the right tools is how a two-hour repair turns into a full-day problem.
The core tools for an AC hose replacement are: a refrigerant recovery machine, a manifold gauge set, a vacuum pump, a set of flare nut wrenches, a crimping machine with matched die sets, and a hose assembly with the correct fittings. O-rings matched to the refrigerant type are also required — not optional.
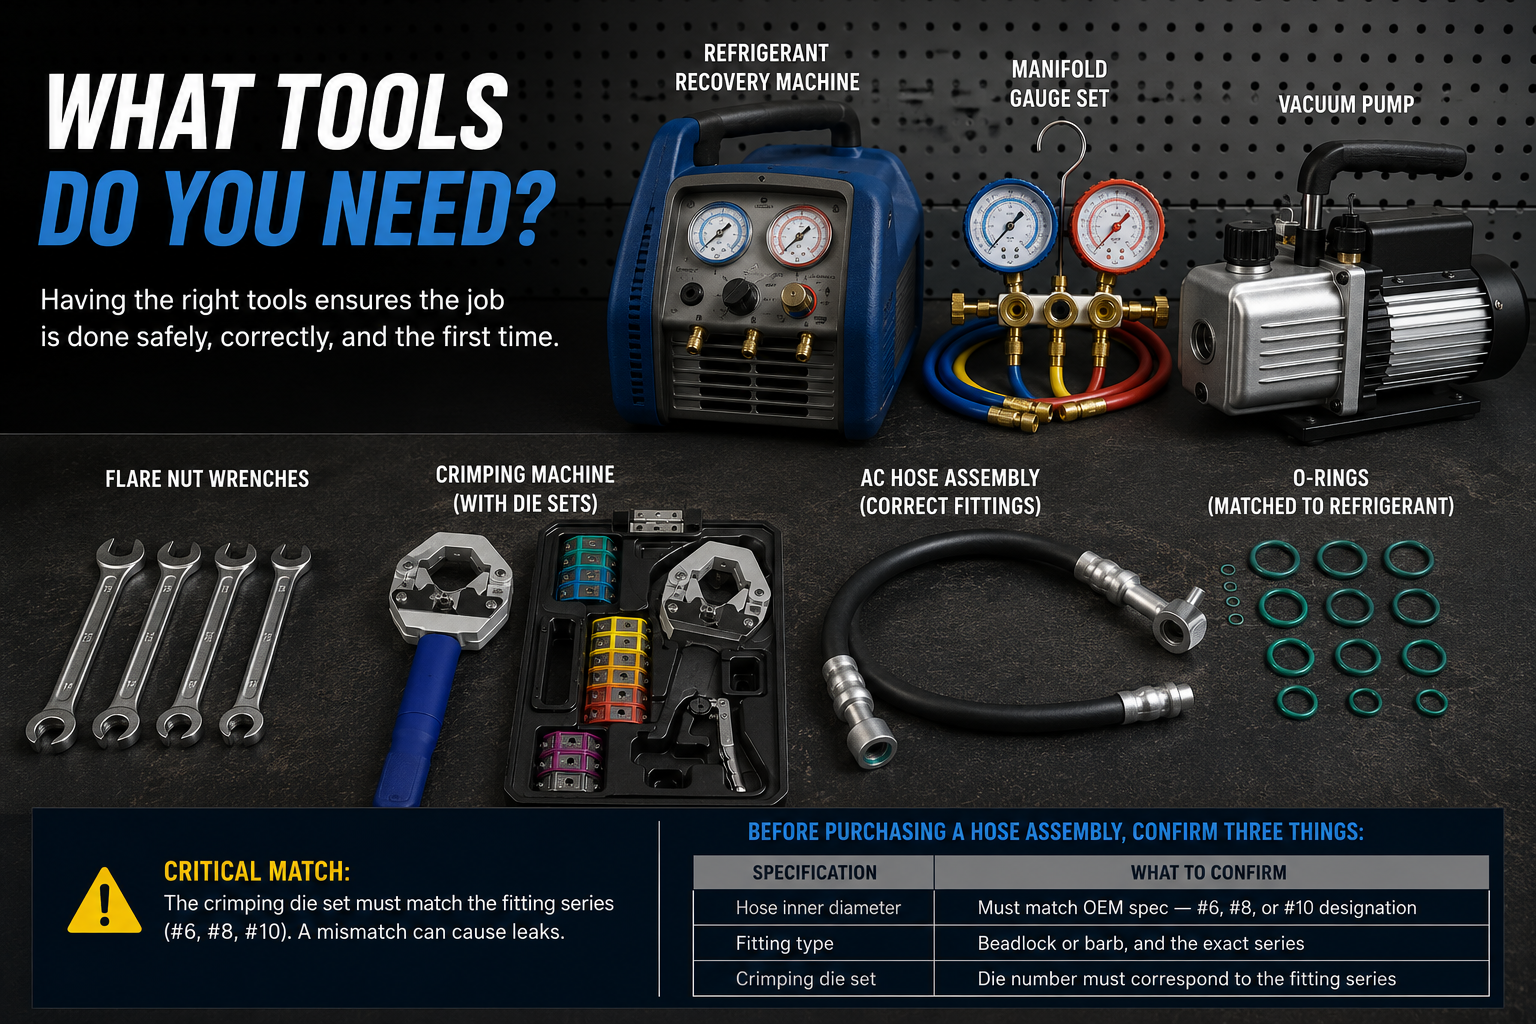
Here's where most sourcing mistakes happen: technicians order a hose assembly and assume any crimping machine on the bench will work with it. That assumption is wrong. The crimping machine die set must match the fitting series of the hose you're installing. A #6 beadlock fitting requires a die set cut specifically for that fitting geometry. A #8 or #10 fitting requires a different die. If the die doesn't match, the crimp looks fine externally but fails at the seal interface under pressure.
This is not a minor detail. Workshops that source hose assemblies from multiple suppliers run into this constantly — the fitting series changes between orders, and no one checks the die compatibility before crimping. The result is a joint that holds for a few days and then leaks.
Before purchasing a hose assembly, confirm three things:
| Specification | What to Confirm |
|---|---|
| Hose inner diameter | Must match OEM spec — #6, #8, or #10 designation |
| Fitting type | Beadlock or barb, and the exact series |
| Crimping die set | Die number must correspond to the fitting series |
Get these three aligned before anything else. The rest of the job depends on it.
What Safety Precautions Should You Take?
AC systems run under high pressure. Refrigerant exposure is a real risk, and it's not just about personal safety — it's also a legal compliance issue in most markets.
Before opening any AC system, recover all refrigerant using a certified recovery machine. Never vent refrigerant to the atmosphere. Wear safety glasses and gloves throughout the job. Make sure the system is fully depressurized before loosening any fittings.
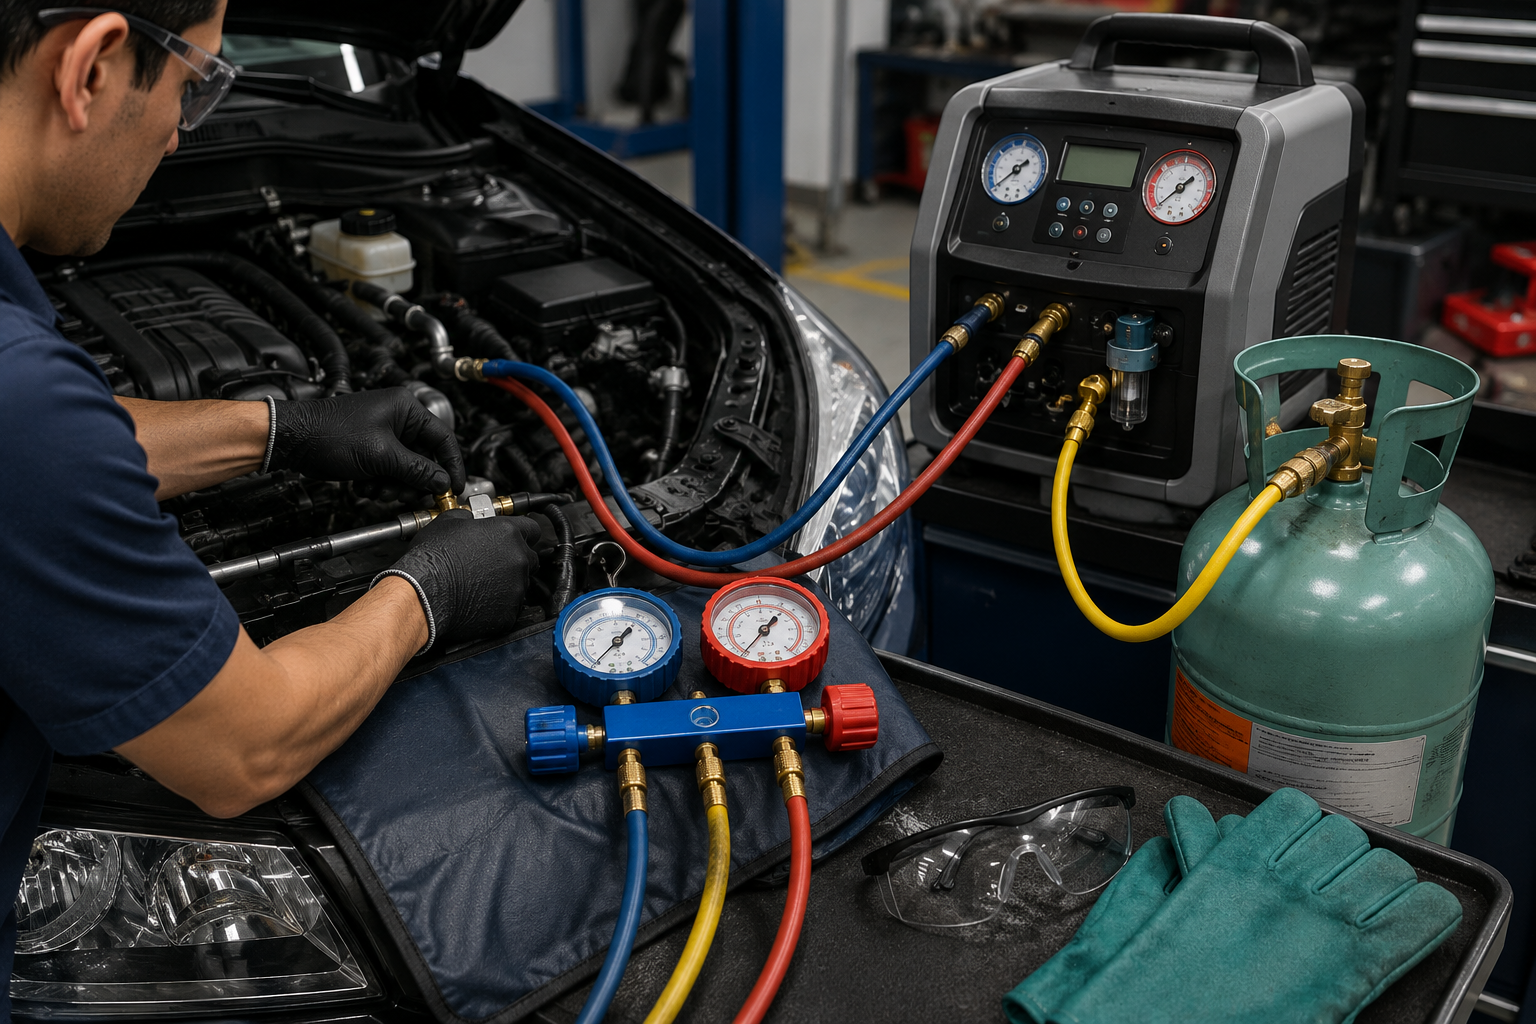
Recovered refrigerant should be stored in a labeled recovery cylinder. The system pressure should read zero on your manifold gauge set before you touch any fittings. Even a system that appears low in charge can have enough residual pressure to cause injury when a fitting is opened.
A few additional points worth keeping in mind:
- Work in a ventilated area. Some refrigerants displace oxygen in enclosed spaces.
- If you're working on an R1234yf system, check for specific handling requirements — that refrigerant has a mild flammability rating that R134a does not.
- Dispose of recovered refrigerant according to local regulations. Most markets have strict rules on refrigerant handling and documentation.
These are not formalities. Workshops that skip refrigerant recovery get fined, and technicians who open pressurized fittings without depressurizing the system get hurt.
How Do You Remove the Old Hose?
Once the system is fully depressurized and the refrigerant is recovered, you can start removing the old hose.
Remove the old hose by locating both end fittings, loosening them with a flare nut wrench in the correct size, and pulling the hose free from its routing path. Do not use an open-end wrench on AC fittings — you will round them. Cap all open ports immediately after removal.
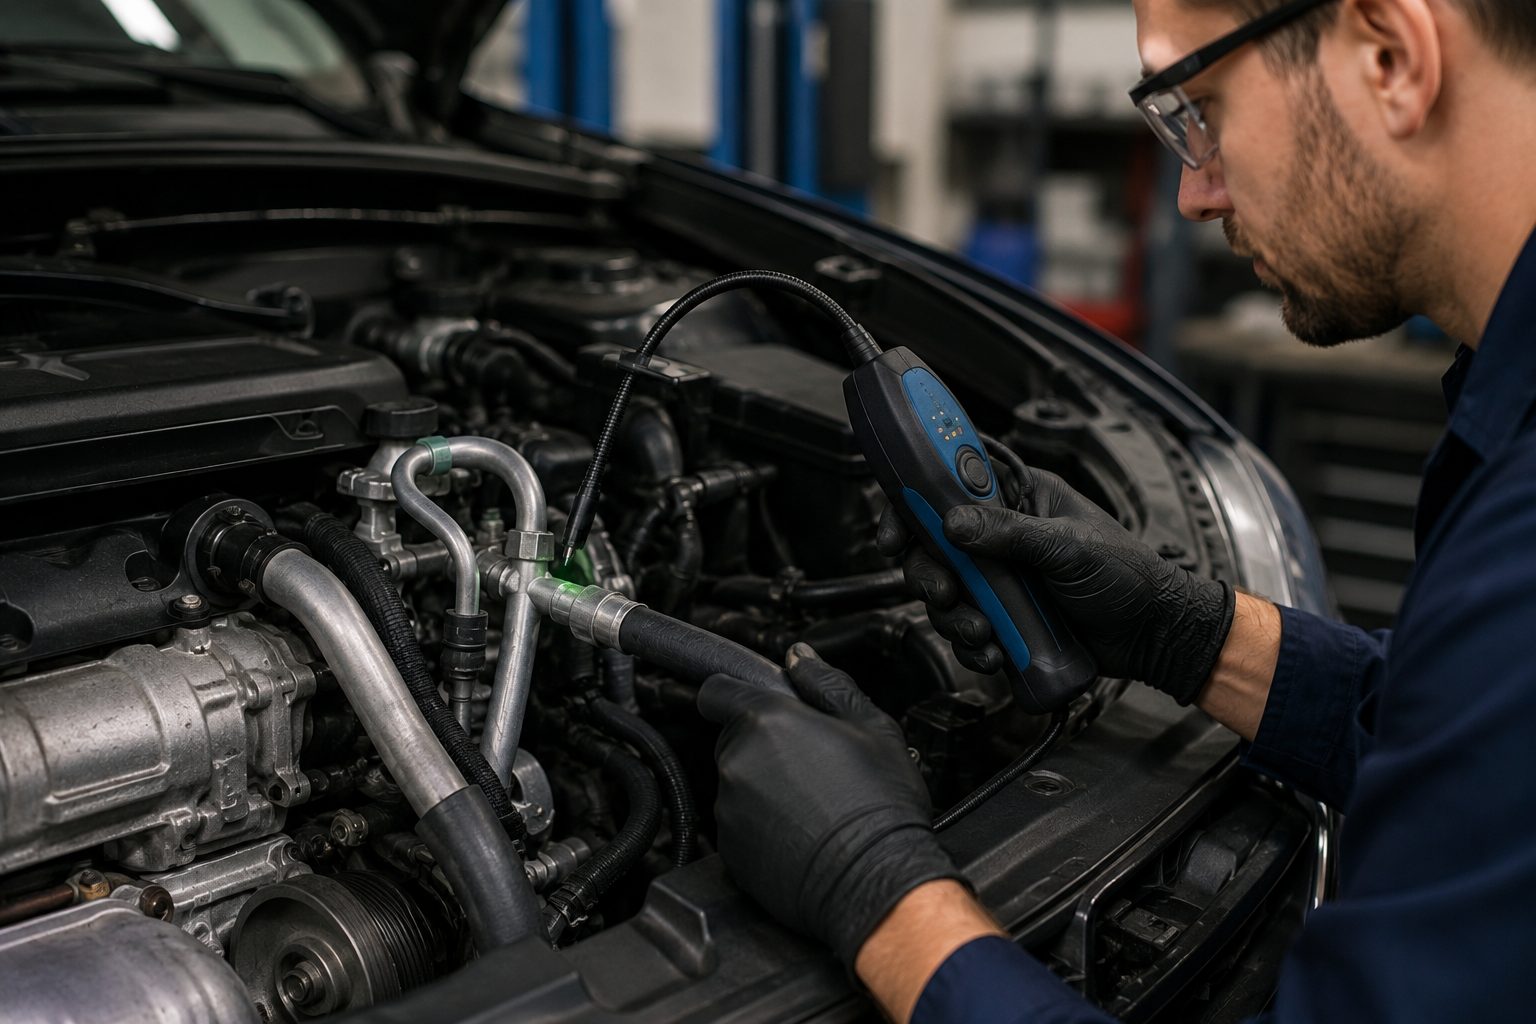
Before you loosen anything, take a photo of the hose routing. AC hoses run through tight spaces, and it's easy to forget the exact path once the old hose is out. That photo saves time during installation.
Use flare nut wrenches. They grip more of the fitting surface and reduce the chance of rounding. On older vehicles, fittings can be corroded in place. Apply penetrating oil and give it time to work before forcing the fitting. A rounded fitting on a compressor port or condenser inlet is a much bigger problem than a stuck hose.
When the fittings are loose, pull the hose carefully through its routing path. Some hoses pass through brackets or clips — release those before pulling, or you'll damage the new hose during installation trying to force it through the same path.
Once the hose is out:
- Cap all open ports on the compressor, condenser, and evaporator immediately
- Inspect the old O-rings and note their size — you'll need new ones in the same size
- Compare the old hose length and fitting positions against the new hose before installing
That last step catches fitment problems before they become installation problems.
How Do You Install the New Hose?
This is the step where spec errors become visible — and where O-ring mistakes get made.
Install the new hose by routing it through the original path, seating new O-rings on each fitting, and torquing the fittings to the manufacturer's specification. Never reuse old O-rings. Use HNBR O-rings for R134a systems. Confirm crimp integrity before installation if using field-assembled hose.
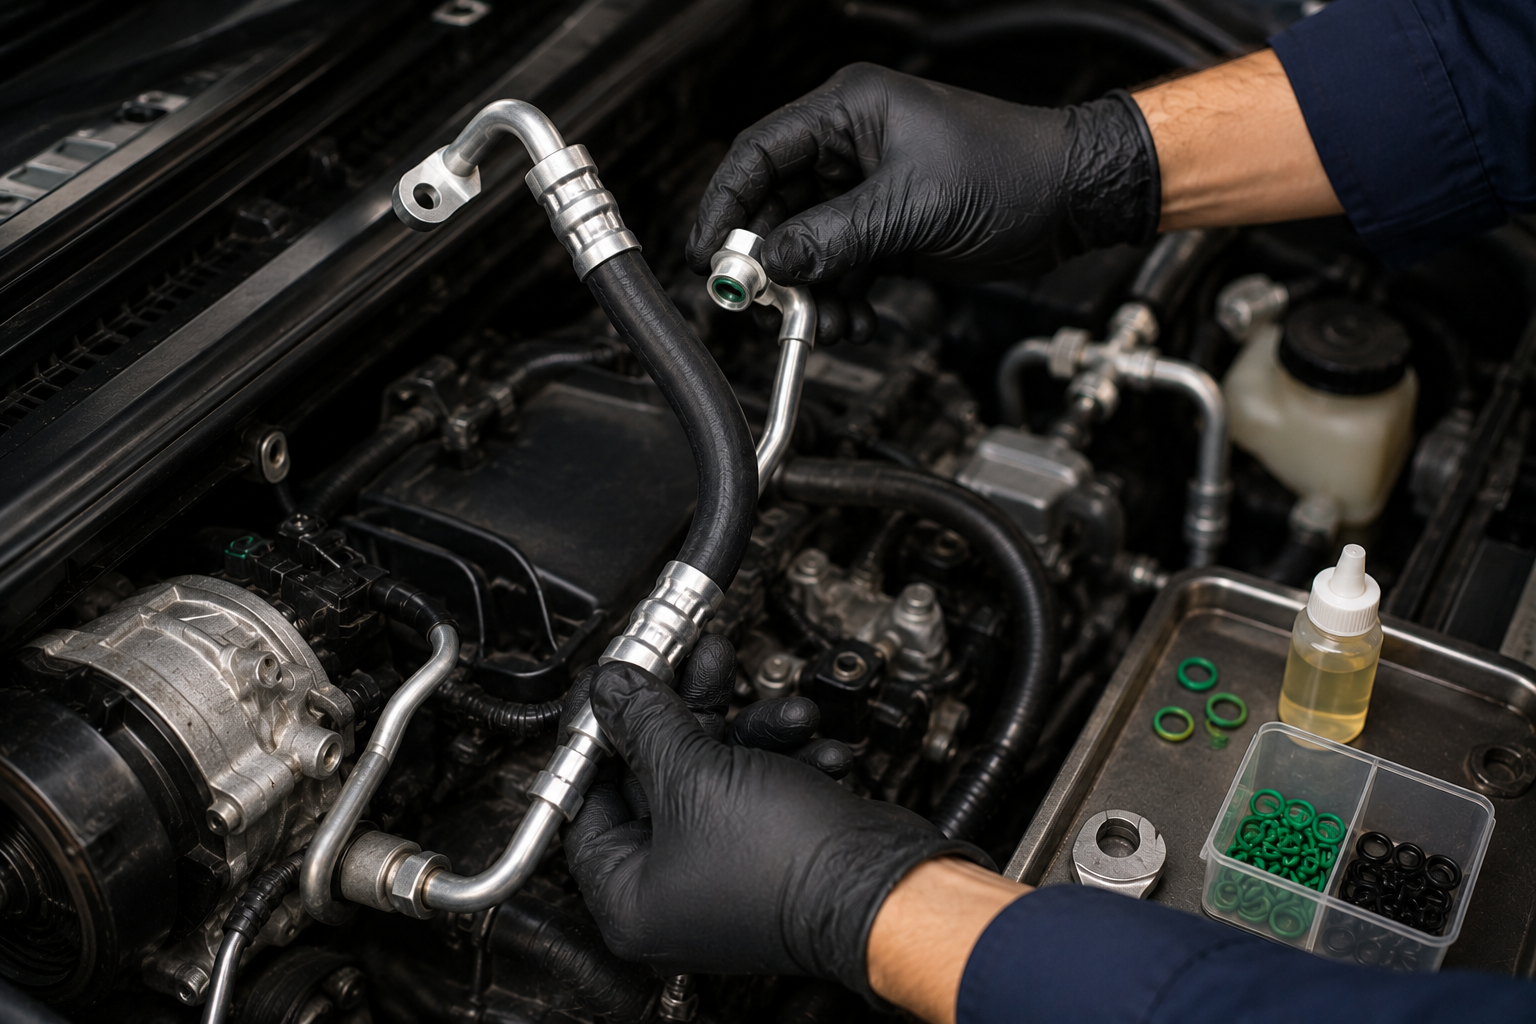
Let's talk about O-rings. Reusing the old O-rings is the single most common cause of post-installation leaks. Old O-rings are compressed, slightly deformed, and no longer able to form a reliable seal. The cost of a new O-ring set is negligible. The cost of a comeback job — labor, refrigerant, and customer frustration — is not.
Material selection also matters:
| Refrigerant Type | Recommended O-Ring Material |
|---|---|
| R134a | HNBR (Hydrogenated Nitrile Butyl Rubber) |
| R1234yf | HNBR or EPDM — confirm with vehicle service manual |
| R12 (legacy) | Neoprene — but verify system compatibility |
Lubricate the new O-rings lightly with refrigerant-compatible oil before seating them. This helps them seat evenly and prevents tearing during fitting assembly.
When routing the new hose, follow the original path exactly. If the hose came pre-assembled with crimped fittings from the factory or supplier, inspect the crimp visually before installation — look for uniform die marks around the full circumference of the fitting. Any gap or uneven compression is a reject.
Torque the fittings by hand first, then finish with a flare nut wrench. Do not overtighten. Over-torquing crushes the O-ring and causes the same leak you're trying to prevent. Refer to the vehicle service manual for torque values — they vary by fitting size and system design.
How Do You Recharge the Refrigerant?
Before any refrigerant goes into the system, the system needs to be evacuated. This step is not optional, and it's not a formality.
Evacuate the system with a vacuum pump to a deep vacuum, then hold that vacuum for a minimum of 30 minutes. The manifold gauge must show no pressure rise during the hold period. Only after a confirmed vacuum hold should you charge the system with the correct refrigerant type and quantity.
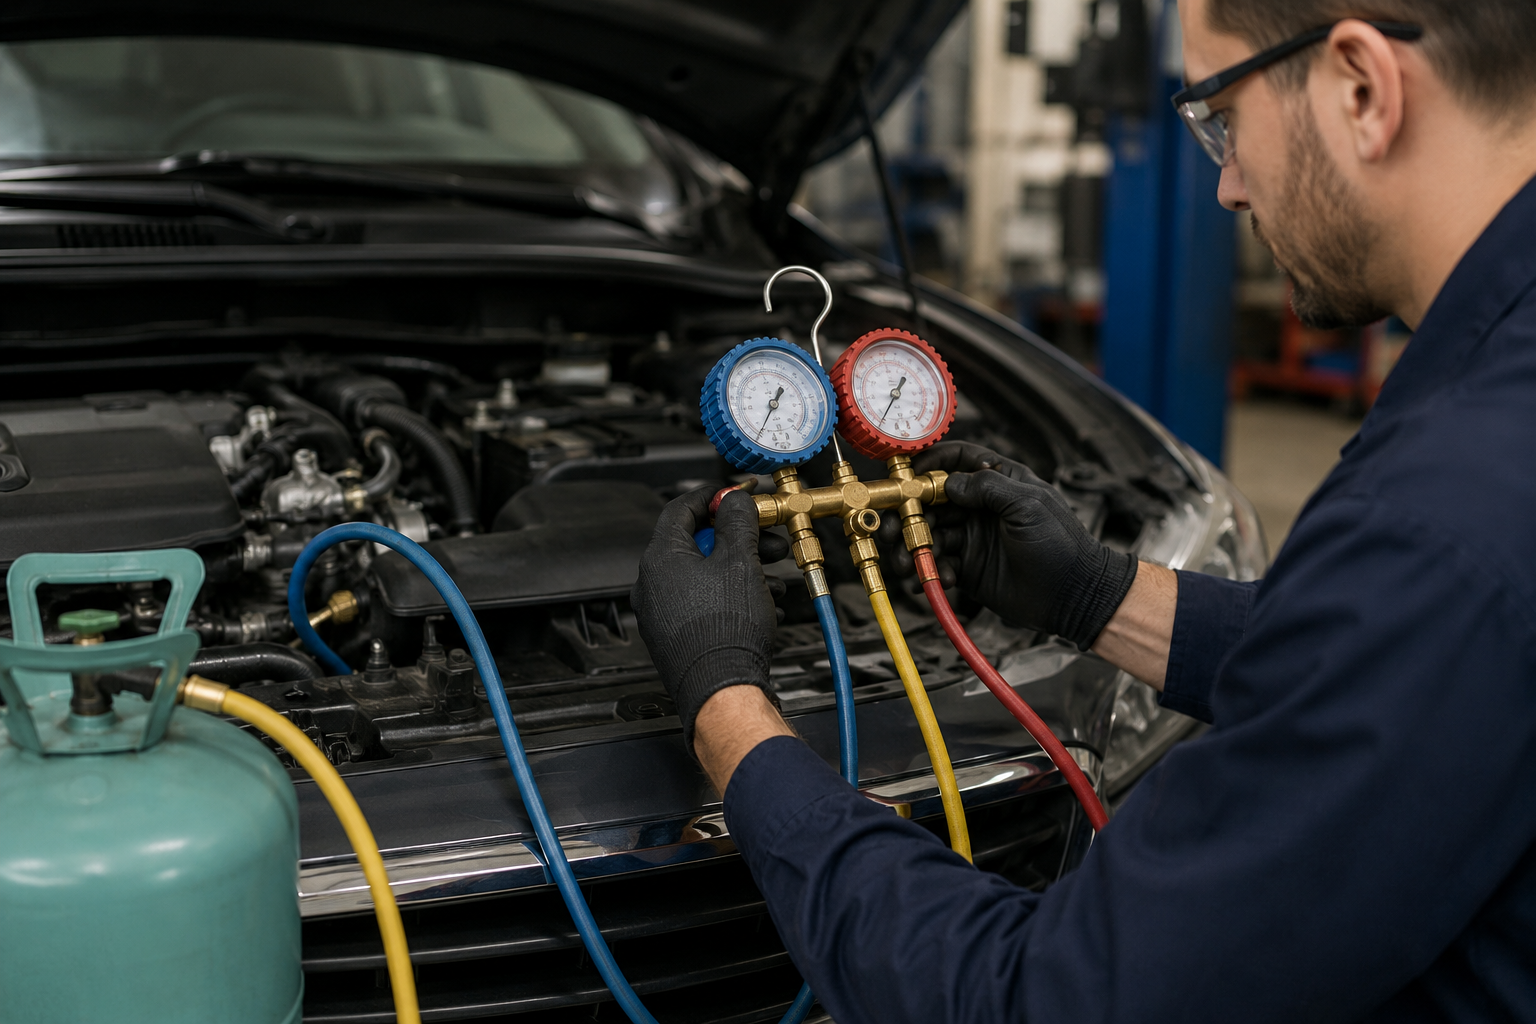
Why does this matter? Any moisture left in the system will mix with the refrigerant and form acid. That acid attacks the compressor, the expansion valve, and the hose liners from the inside. Skipping or shortening the evacuation is one of the most expensive shortcuts a technician can take.
The vacuum hold test works like this: pull the system down to vacuum, close the valves on the manifold gauge set, shut off the pump, and watch the low-side gauge for 30 minutes. If the pressure rises, there is a leak somewhere in the system — find it before charging. If the pressure holds steady, the system is clean and sealed.
For refrigerant quantity and system pressure targets, refer to the vehicle service manual or the underhood label. These values are vehicle-specific and refrigerant-specific. Using a universal figure for charge quantity is a common mistake that leads to either an undercharged system with poor cooling or an overcharged system with compressor damage.
How Do You Test for Leaks?
Charging the system is not the end of the job. A leak test confirms the repair actually holds.
After recharging, use an electronic refrigerant leak detector or UV dye and UV light to check all connection points — both ends of the new hose, all disturbed fittings, and the O-ring seats. A system that passes a leak test immediately after charging should be tested again after 15 minutes of operation.
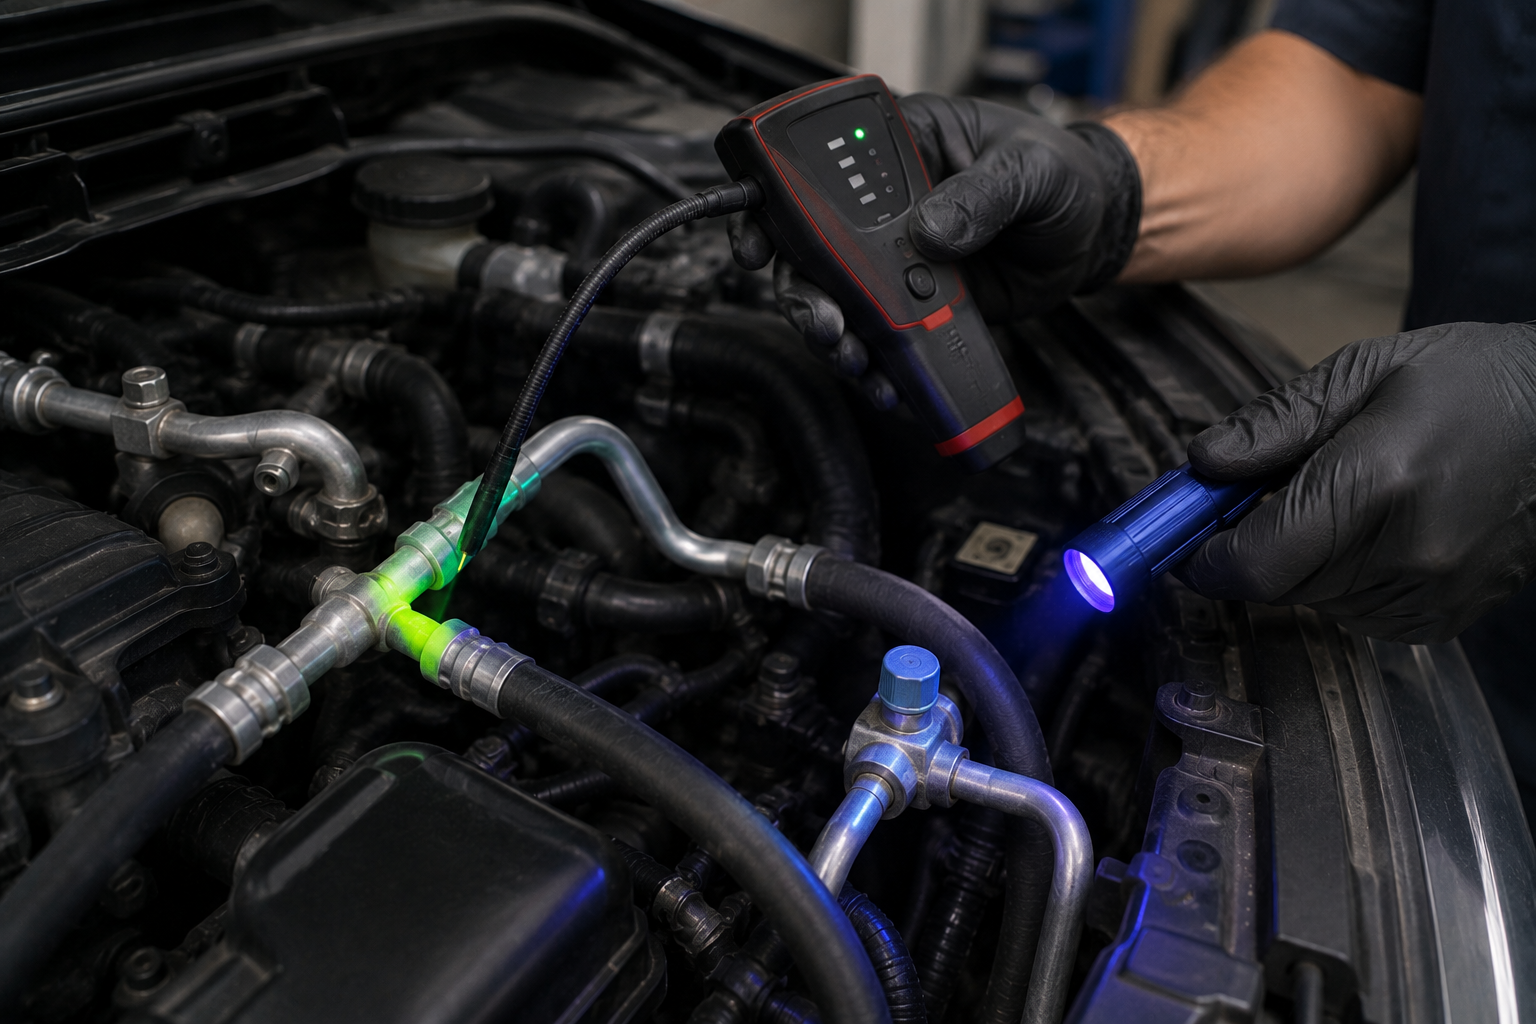
Electronic leak detectors are faster for initial checks. Run the probe slowly around each fitting — the detector responds to refrigerant concentration in the air around the joint. Any reading above background level means there's a leak.
UV dye is better for finding slow leaks that don't trigger the electronic detector immediately. If UV dye was already present in the system from a previous service, you'll see it at the leak point under UV light. If no dye was present, some workshops add a compatible dye during the recharge process for future diagnostics.
Key points for a complete leak test:
| Check Point | Method |
|---|---|
| Both hose end fittings | Electronic detector + visual UV check |
| Compressor port | Electronic detector — this is a high-movement area |
| Condenser and evaporator connections | Electronic detector |
| Any other fittings disturbed during the job | Visual and electronic |
Run the system for 15 minutes with the engine at operating temperature. Then recheck all the same points. Thermal expansion changes the load on every fitting, and a leak that wasn't present at ambient temperature sometimes shows up after the system warms up.
If you find a leak, recover the refrigerant, fix the connection, re-evacuate, and recharge. There is no shortcut here. A slow leak means the car comes back, and the refrigerant loss compounds the cost of the redo.
Conclusion
A successful AC hose replacement comes down to three things: correct hose spec, new O-rings, and a proper vacuum hold before charging. Get those right, and the procedure is straightforward.
<!--[googlesitekit-end-of-content]-->